Introduction / Why This Matters
Call of Duty: WWII runs on a solid engine, but on certain hardware configurations, users experience frame rates dropping below 60 FPS, micro-stutters, and inconsistent input response. The issue is rarely tied to insufficient hardware power. More often, it's caused by conflicting overlays, outdated configuration files, and aggressive resource management by Windows 10/11. Following these instructions will give you a stable frame rate, reduce input latency, and eliminate periodic stuttering in multiplayer.
Requirements / Preparation
Before you begin, ensure you have administrator rights on your PC, the game is fully updated via the Steam or Battle.net client, and at least 10 GB of free space is available on your system drive. Close all third-party screen recording software, Discord overlays, and browsers with dozens of open tabs—they can consume up to 2 GB of RAM and strain the CPU in the background.
Step 1: Clean Driver Installation and GPU Configuration
NVIDIA Control Panel showing Shader Cache, Vertical Sync, and Power Management settings
Standard updates via GeForce Experience or AMD Adrenalin often retain old profiles, which can lead to memory leaks and rendering instability.
- Download the latest driver from the official NVIDIA or AMD website.
- Run the installer and select Custom Installation.
- Check the box for Perform a clean installation to remove remnants of old components.
- After rebooting, open your GPU control panel. Under Manage 3D Settings, locate the game's profile and force the following settings:
- Shader Cache: On
- Vertical Sync: Off (or Use the 3D application setting)
- Power Management Mode: Prefer maximum performance
💡 Tip: If you're using integrated graphics, ensure the game launches via your dedicated GPU. In Windows Graphics Settings, set the game's
.exefile to High performance.
Step 2: Disable Fullscreen Optimization and Background Processes
Windows game file properties window showing the 'Compatibility' tab and the 'Disable fullscreen optimizations' option
Windows 10/11 attempts to apply its own optimization layer over the game, which paradoxically causes input lag and FPS drops during fast-paced scenes.
- Navigate to the game's installation folder (typically
C:\Program Files (x86)\Steam\steamapps\common\Call of Duty WWII). - Locate the main executable (
.exe), right-click it, and select Properties. - Go to the Compatibility tab, check Disable fullscreen optimizations, and click Apply.
- Open Task Manager (
Ctrl + Shift + Esc), switch to the Startup tab, and disable everything except critical audio/mouse drivers. Reboot your PC.
Step 3: Manual Configuration File Editing
Automatic system detectors often assign settings that exceed the capabilities of your storage drive or CPU. Directly editing config.cfg yields predictable and safe results.
- Open
Documents\Call of Duty WWII\players\(orplayers2depending on your platform). - Back up the
config.cfgfile by copying it to a separate folder. - Open the original file using Notepad or Notepad++.
- Find and modify the following lines (if they don't exist, add them to the end of the file):
r_monitorRefresh "60" # Replace with your monitor's refresh rate (e.g., 144) r_vsync "0" # Disables vertical sync r_maxGpuMemory "3000" # VRAM limit in MB; set to ~65% of your GPU's total memory r_highQualityShaders "0" # Reduces load on the shader pipeline - Save the file. Right-click it → Properties → enable the Read-only attribute. This prevents the game from overwriting your settings on launch.
Step 4: Launch Options and Process Priority
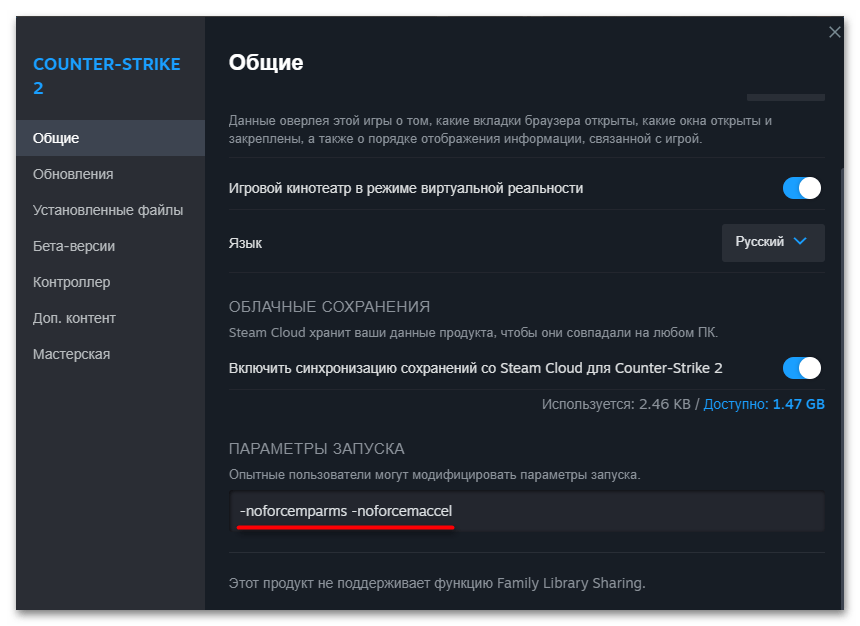
Steam game properties dialog showing the 'Launch Options' field for adding command-line arguments
Additional stability improvements can be achieved through command-line arguments and CPU process priority.
- In your Steam library, right-click Call of Duty: WWII → Properties → Launch Options.
- Paste the following string:
+seta com_maxfps "0" -novid +mat_queue_mode 2 - Launch the game, navigate to the main menu, and minimize it.
- In Task Manager, go to the Details tab, locate the
s2_mp64_shippc.exeprocess (ors2_sp64_shippc.exe), right-click it → Set priority → High. Do not select Realtime, as it may cause system freezes.
Verifying the Results
For an objective assessment, use the built-in Steam FPS counter (Shift + Tab → Settings → In-Game → In-game FPS counter) or MSI Afterburner. Enter Practice mode or a local LAN match. If the average frame rate stays within your monitor's refresh rate and the 1% low metric doesn't drop below 45–50 FPS, the optimization was successful. Run two full matches to verify stability under sustained load.
Troubleshooting
- Game crashes on launch after editing
config.cfg: The file is corrupted or contains syntax errors. Delete the file from your profile folder and launch the game—the client will generate a fresh configuration file with default settings. Reapply your edits, carefully checking quotes and spacing. - Audio cuts out or crackles: Disabling fullscreen optimization can sometimes conflict with Realtek drivers. Open Sound Control Panel → Playback tab → right-click your device → Properties → Advanced tab. Set the default format to
16 bit, 44100 Hz (CD Quality). - FPS drops only on specific maps: WWII multiplayer features certain maps with heavy particle rendering. In the game's graphics settings, lower Particle Quality by one tier, but keep Texture Quality on High. This provides the biggest performance boost without noticeable visual degradation.